Adding Content to a Tour
Add audio content, images, and translations to the stops in your tour. You can upload audio files or generate audio using the built-in text-to-speech tool.
-
Open your tour in the Tour Editor.
-
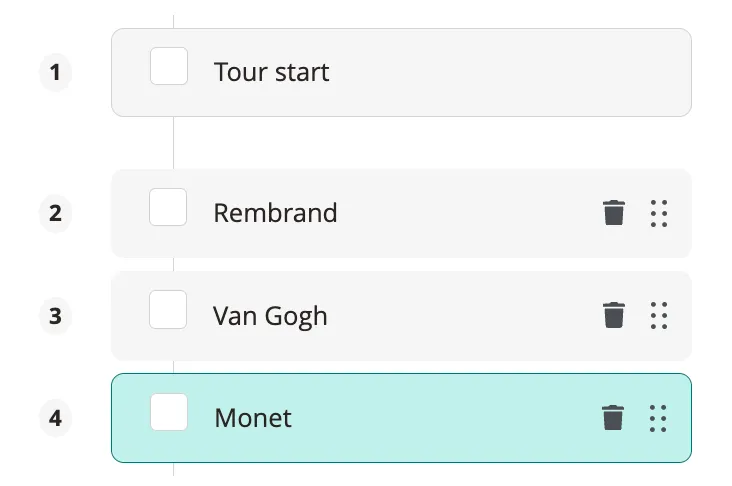
Select a stop from the stop list on the left side.
-
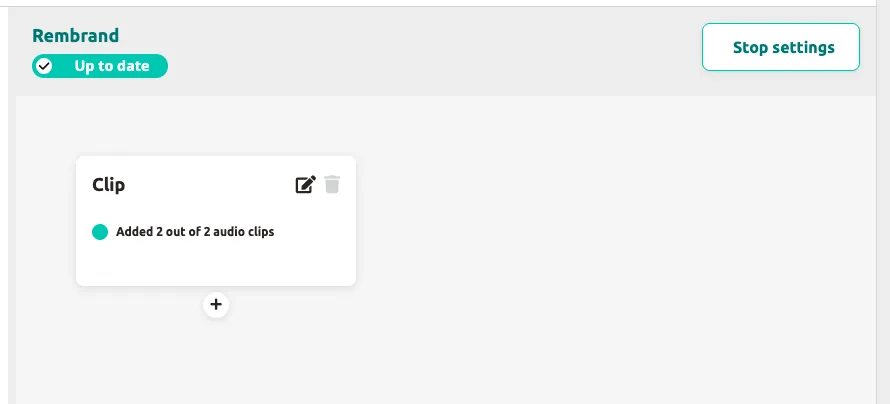
Open the clip editor. What you see depends on your stop setup:
Single clip (no Clipflow) — the clip editor opens directly when you select the stop. You can immediately edit the title, script, and audio.
Clipflow view — if the stop has a Clipflow, you see the clip tree with connections. Double-click a clip or click the pencil icon to open the clip editor.
-
Upload an audio file by dragging it into the drop zone, or click
Select fileto browse your computer. -
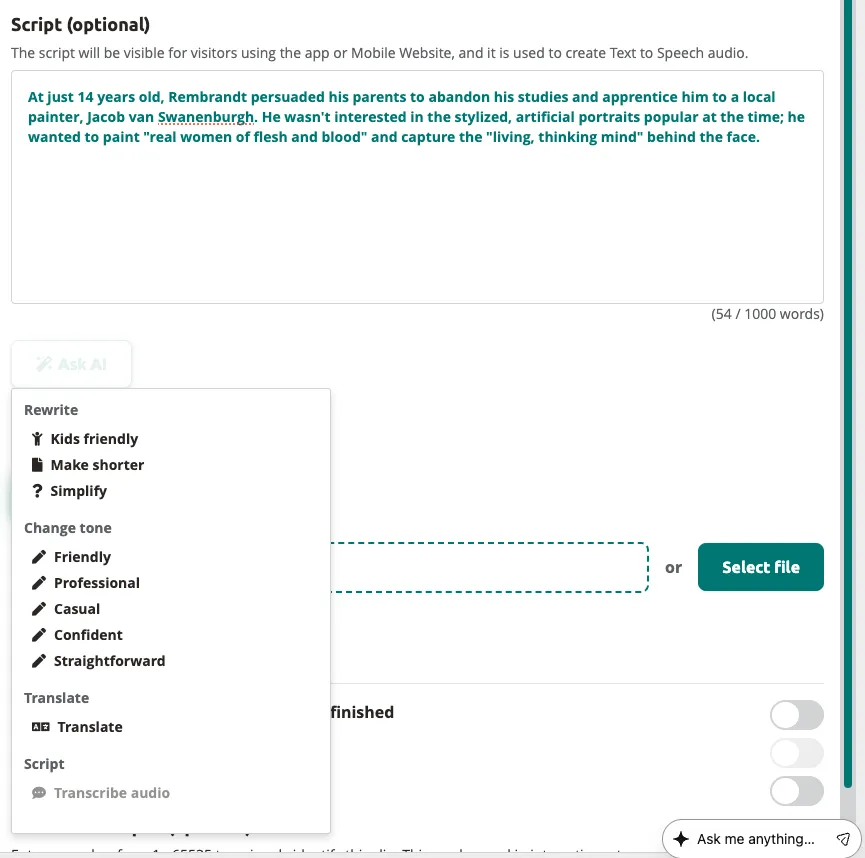
Generate text-to-speech audio (optional): click
Text to Speech, enter your script in the Script field, and select a voice. -
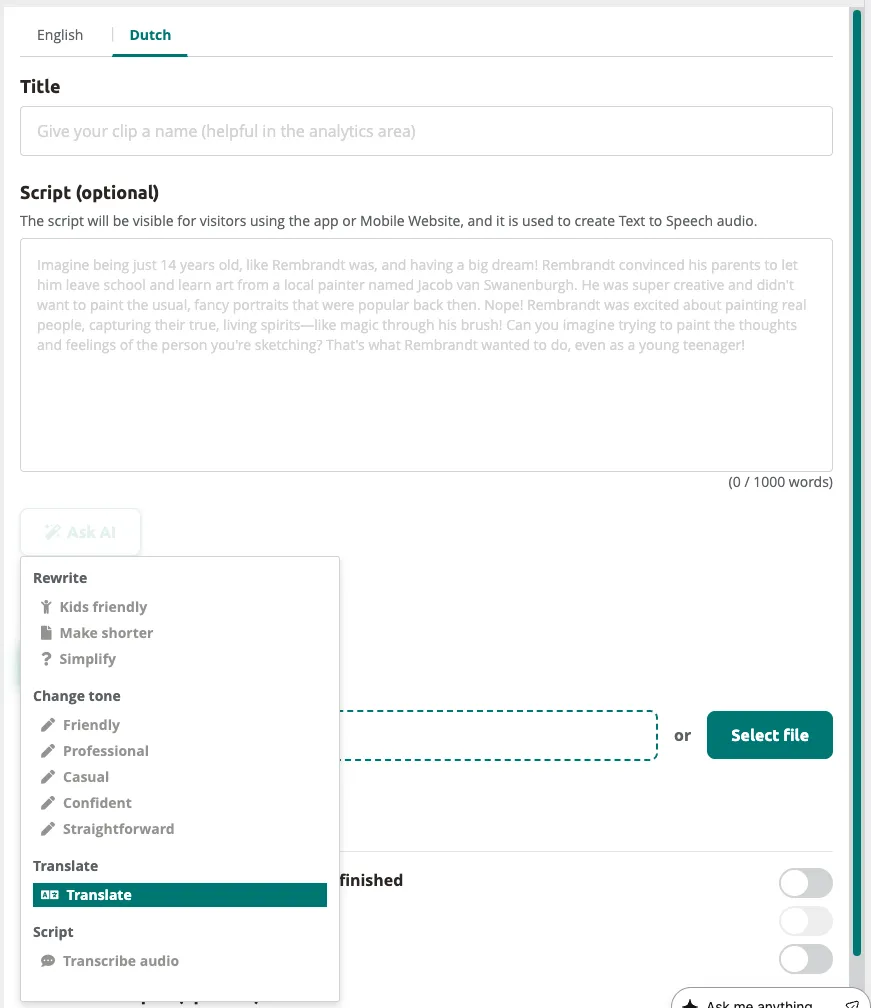
Switch to another language by clicking the language tab at the top of the clip area.
-
Repeat steps 4-5 to add audio content for each additional language.
-
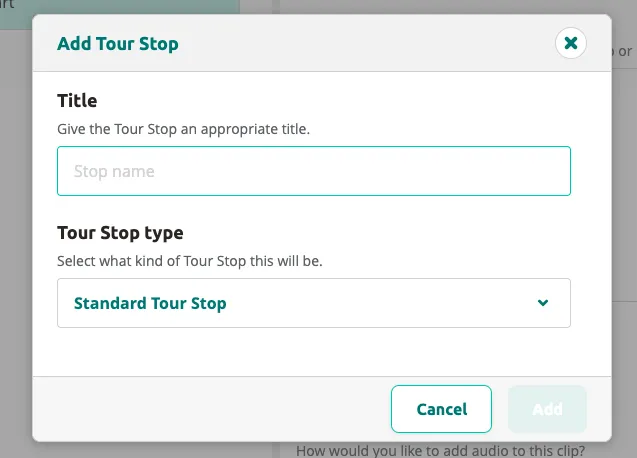
Add more stops by clicking
Add Stop, entering a title, selecting a stop type, and clickingNext.
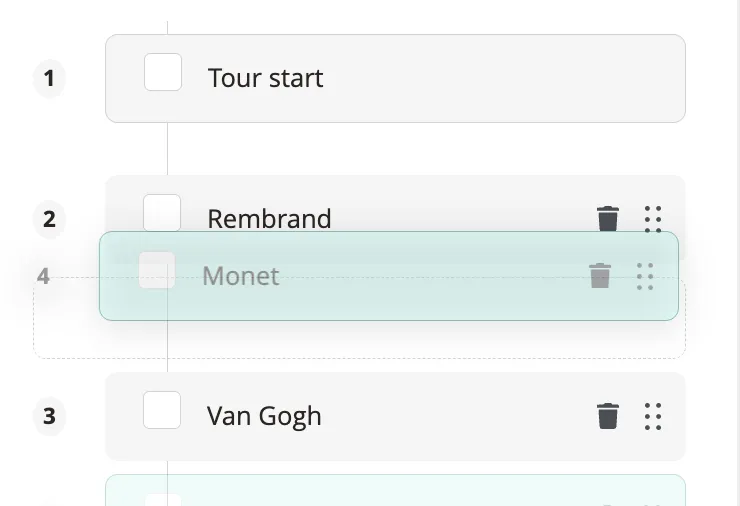
- Reorder stops by clicking and dragging the handle on each stop in the stop list.
Your stops now have audio content and are ready for further enrichment.
Next: Adding Layers to a Tour
Related articles
Section titled “Related articles”- Create a Tour — start a new tour with the wizard
- Using the Tour Editor — build branching Clipflows
- Editing Clips — configure clip content, audio, and settings
- Text-to-Speech — generate audio from your scripts