Dashboard
General Site Settings
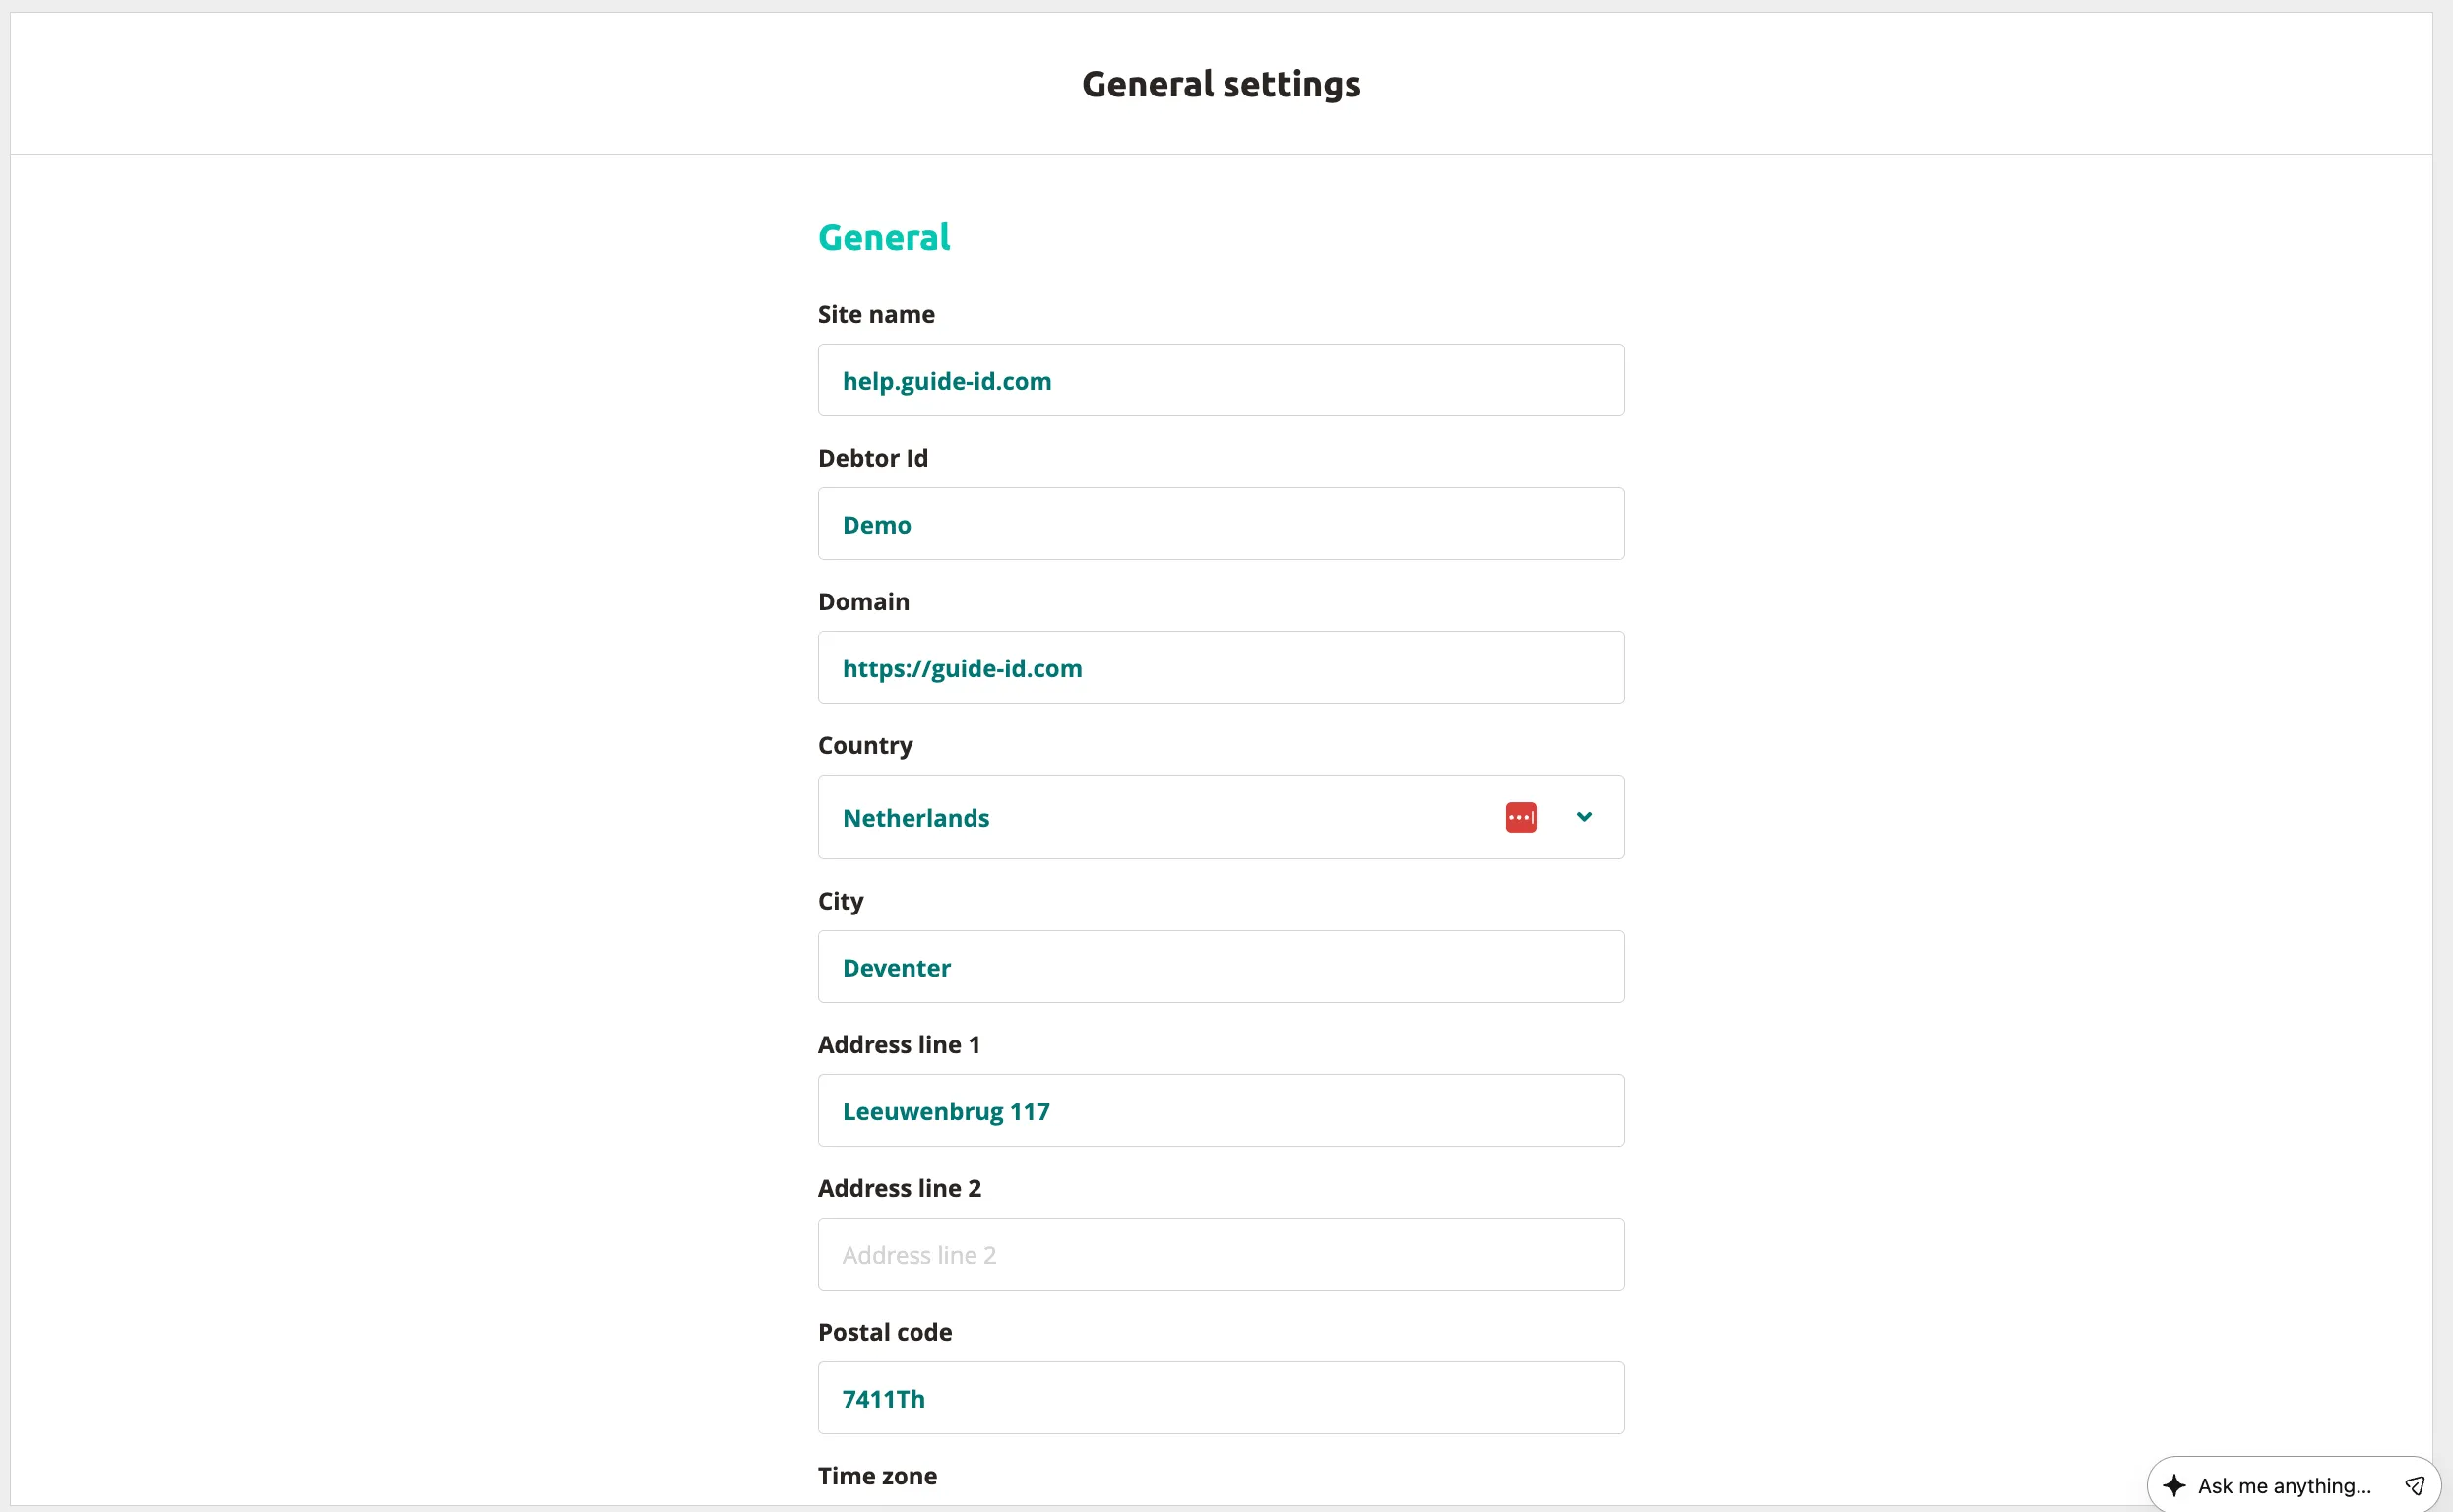
The General page under Site Settings shows your site information at a glance. Depending on your role, you can view or edit fields such as the site name and domain.
Access General Settings
Section titled “Access General Settings”-
Log in at platform.guide-id.com.
-
Go to Site Settings → General in the left-hand sidebar.
What You See
Section titled “What You See”The General page displays the following information:
| Field | Description |
|---|---|
| Site name | The name of your site as it appears across the Platform and on visitor-facing channels. |
| Domain | The web domain associated with your site. This is an admin-only field. |
| Debtor ID | Your organisation’s billing identifier. This is an admin-only field. |
| Country | The country where your site is located. |
| City | The city where your site is located. |
| Address | The street address of your site. |
| Postal code | The postal code for your site location. |
| Time zone | The time zone used for scheduling and analytics. |
Edit the Site Name
Section titled “Edit the Site Name”-
Click the Site name field.
-
Enter the new name for your site.
-
Click
Saveto apply the change.
Role-Based Access
Section titled “Role-Based Access”What you can do on the General page depends on your user role:
| Action | Admin | Regular user |
|---|---|---|
| View site name | Yes | Yes |
| Edit site name | Yes | Yes |
| View domain | Yes | No |
| Edit domain | Yes | No |
| View Debtor ID | Yes | No |
| Edit Debtor ID | Yes | No |
Result
Section titled “Result”You now know how to view and update your general site settings in the Guide-ID Platform. For managing team members and their roles, see Adding Team Members.
Related Articles
Section titled “Related Articles”Was this article helpful?