Adjusting Tour Settings
Adjust your tour settings to control the available devices, language options, and scoring that visitors experience.
-
Go to Tours > My Tours in the Platform.
-
Select the tour you want to edit.
-
Click
Tour Settingsin the top-right corner of the tour page. -
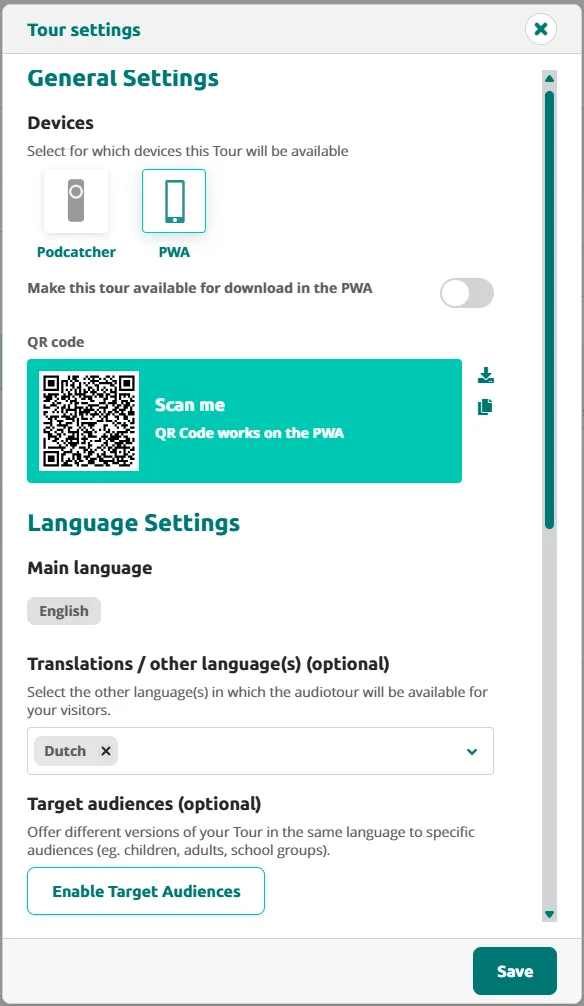
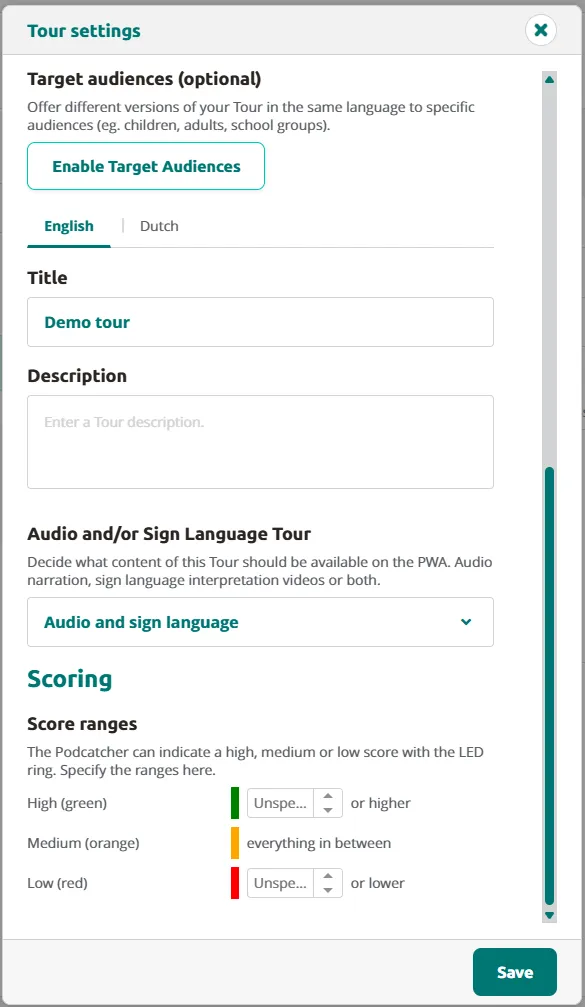
Review the available sections: Devices, QR code, Language Settings (main language, translations, and target audiences), and Scoring.
-
Under Language Settings, review the main language and add any translation languages.
-
Optionally, set up Target Audiences to offer different versions of your Tour in the same language for specific groups of visitors (e.g. children, adults, school groups).
- Standard is the default audience and is always present. Click
+ Addto create an additional, separate target audience alongside it.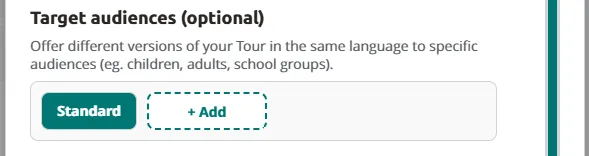
- Type a name for the new audience, then click
Add. ClickCancelto discard it instead.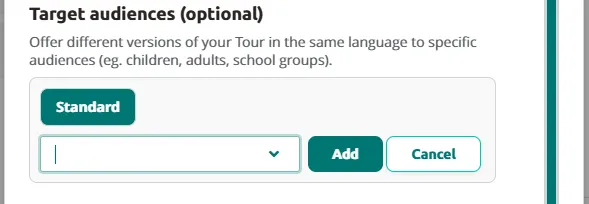
- The new target audience now appears as its own entry alongside Standard. Click the
xon an audience to remove it.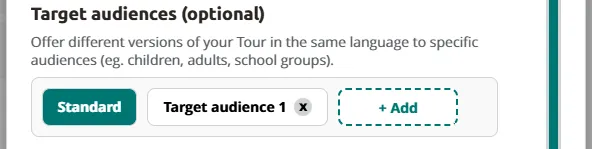
- Click
Saveto apply your changes — both adding and removing a target audience only take effect after saving.
- Standard is the default audience and is always present. Click
-
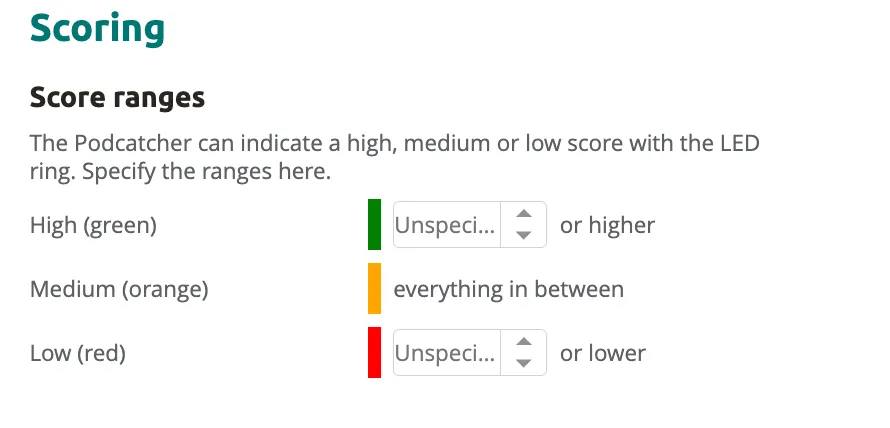
Configure Score ranges if your tour uses scoring — define the thresholds for high (green), medium (orange), and low (red) LED ring feedback on the Podcatcher Pro.
- Click
Saveto apply your changes.
Your tour settings are now updated and will take effect after the next publish.
Related articles
Section titled “Related articles”- Adding Content to a Tour — add audio and content to your stops
- Editing Clips — configure scoring and clip settings
- Publishing a Tour — make your tour live for visitors
- Tips and Tricks — best practices for building tours